
Storage Backend Drill
Overview
A backup you have never restored is a hypothesis, not a backup. This walkthrough is the drill that turns it into a fact: add a storage backend, initialize its repository, run a real backup, restore it into a scratch database, and prove the restored data is byte-identical to the source.
Run it once per backend when you add one, and periodically thereafter. It is the only way to catch a repository that accepts writes but cannot be read back, a GPG recipient whose private key nobody still holds, or a cloud remote whose OAuth token expired three weeks ago.
Command notation
All commands use the backupctl CLI shortcut (installed via scripts/install-cli.sh). Without it, prefix with docker exec backupctl node dist/cli.js.
Use a scratch database
Never restore into the live database as a test. Every step below restores into a throwaway database and compares it against the source. Restoring over production is how a drill becomes an outage.
What This Drill Proves
| Step | Proves |
|---|---|
| Config validate | The backend's required config keys are present and well-formed |
| Repo init | Credentials actually grant write access to the repository |
| Dry run | Database, storage, GPG key, and notifier are all reachable together |
| Backup | Dump, encrypt, verify, and upload all succeed against the real backend |
| Snapshots | The snapshot is listable and correctly tagged |
| Restore | The snapshot can be read back and the artifact retrieved |
| Decrypt | The GPG private key is available and the ciphertext is intact |
| Fidelity check | The restored data matches the source exactly |
That last row is the one that matters. Everything above it can pass while the restored data is silently truncated.
Step 1: Configure the Backend
Add the project to config/projects.yml. See Configuration for the full schema and per-backend key reference.
For an rclone-backed remote (Google Drive, OneDrive, Dropbox):
storage:
  type: rclone
  repository: gdrive:backups/myproject
  password: ${RESTIC_PASSWORD}
  snapshot_mode: separate
  config:
    config_path: /home/node/.config/rclone/rclone.conf
The remote must already be authorized. OAuth needs a browser, so run rclone authorize "drive" on your laptop and paste the token via docker exec -it backupctl rclone config. See Google Drive, OneDrive, Dropbox.
Validate before going further:
backupctl config validate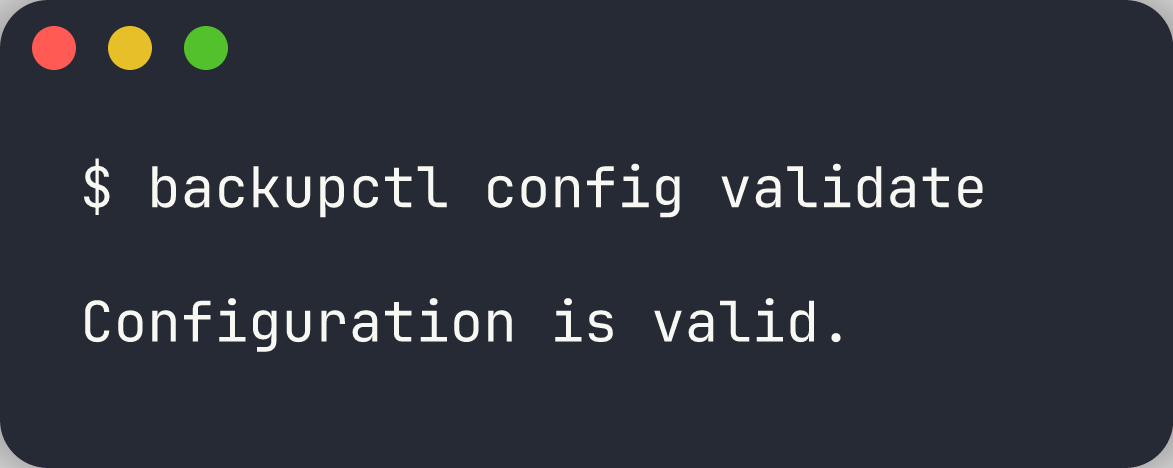
This catches missing keys and malformed repository strings, but it does not contact the backend. A config can be valid and the credentials still wrong.
Step 2: Initialize the Repository
Required for backends added after setup
scripts/install.sh initializes restic repositories for every project present at setup time. A backend you add later has no repository, and backupctl run does not create one — it fails with repository does not exist. Initialize it explicitly.
backupctl restic myproject init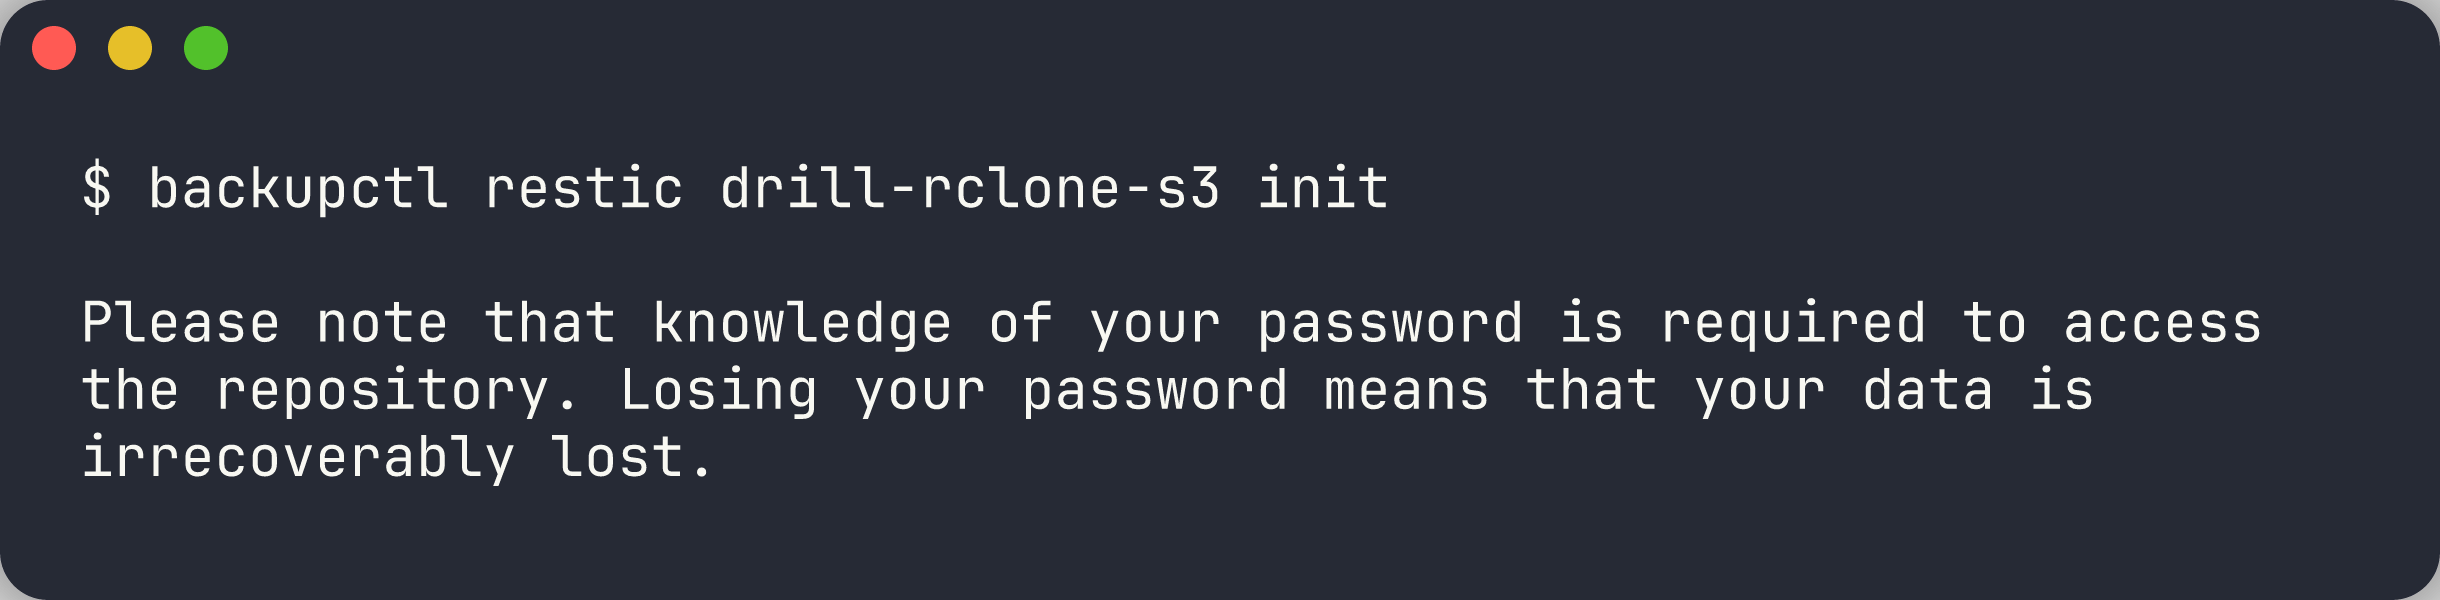
This is a one-time action per project. It is also the first step that proves your credentials grant write access, not just read.
For SFTP backends the parent directory must exist first; see FAQ for the mkdir sequence.
Step 3: Preflight With a Dry Run
backupctl run myproject --dry-run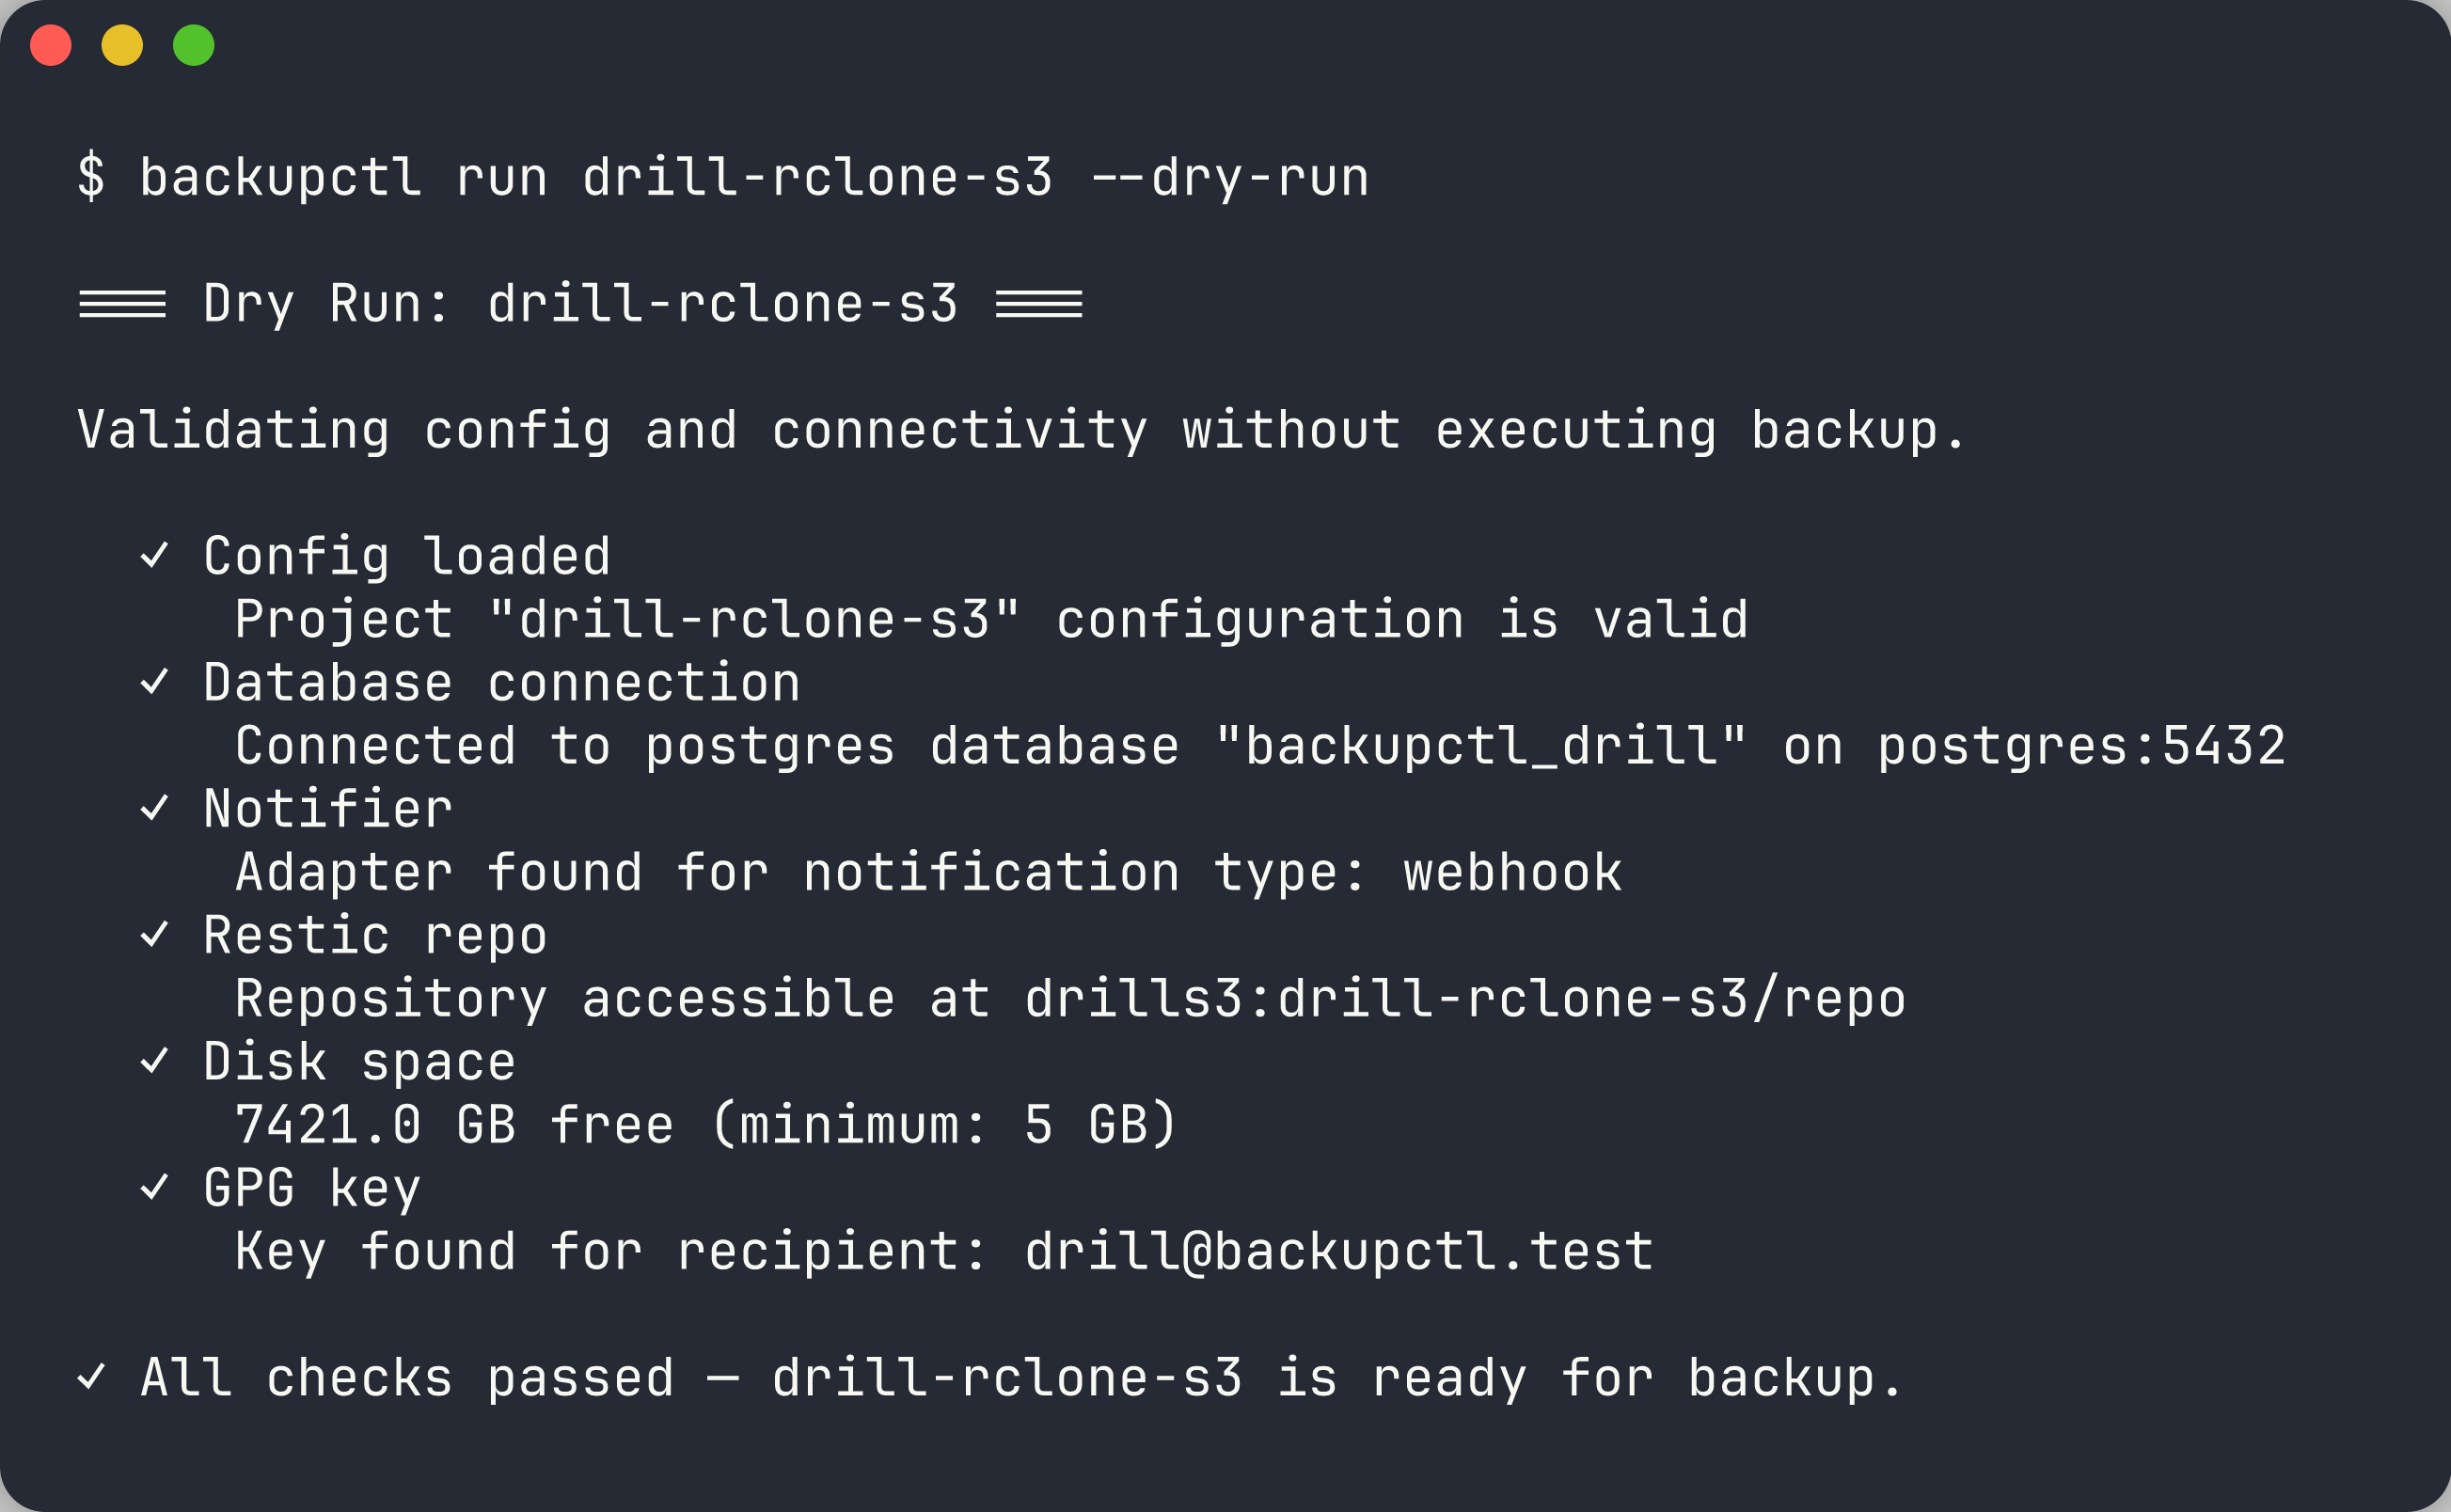
Six checks run without writing anything. All six must be green before you continue:
| Check | Common failure |
|---|---|
| Config loaded | Schema error in projects.yml |
| Database connection | Wrong host, or container not on the project's Docker network |
| Notifier | NOTIFICATION_TYPE names a notifier whose credentials are unset |
| Restic repo | Repository not initialized (Step 2), or expired cloud token |
| Disk space | Below HEALTH_DISK_MIN_FREE_GB |
| GPG key | No public key for the configured recipient |
A green GPG check confirms only the public key. Step 6 is what proves the private key still exists.
Step 4: Run a Real Backup
backupctl run myproject
Confirm Encrypted: Yes and Verified: Yes match your project's configuration. A backup that silently skipped encryption still reports success.
Then confirm the snapshot is listable and tagged:
backupctl snapshots myproject
Tags carry project:, timestamp:, and db:. The timestamp uses your configured TIMEZONE, so it will differ from the UTC snapshot time.
The audit trail records the run independently of the CLI output:
backupctl status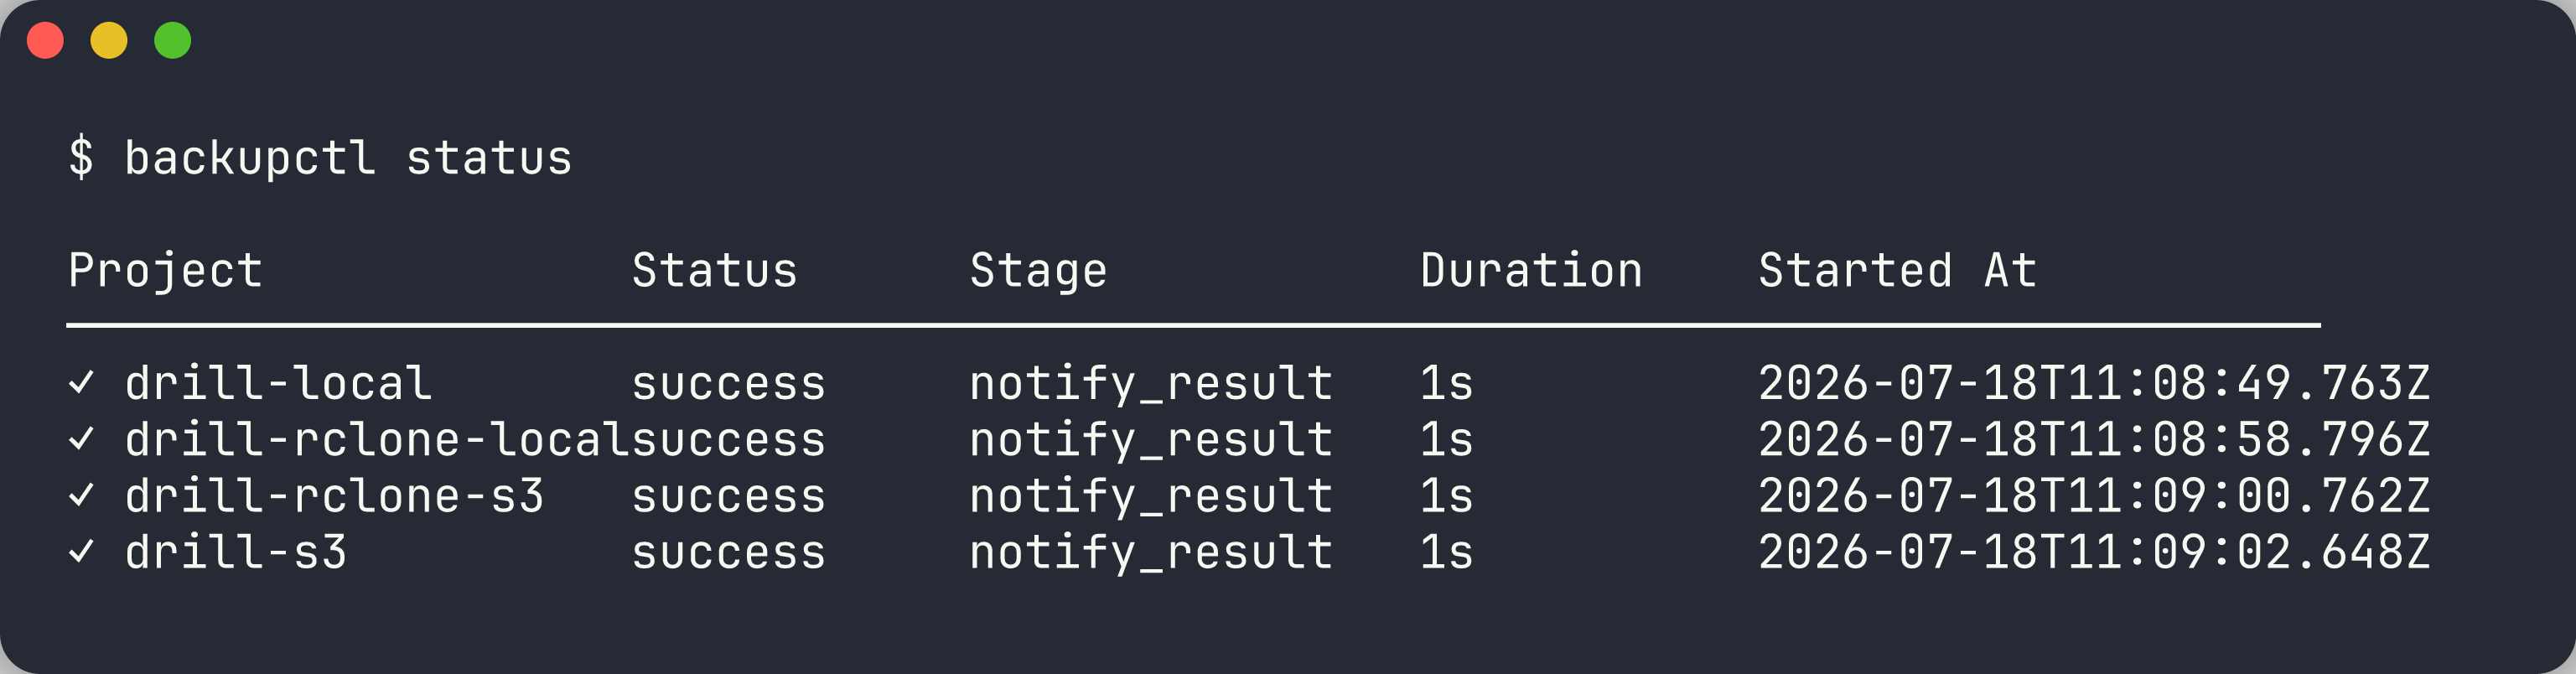
Step 5: Restore the Snapshot
--guide prints instructions tailored to the project's actual database type, encryption setting, and GPG recipient:
backupctl restore myproject <SNAPSHOT_ID> /tmp/restore --guide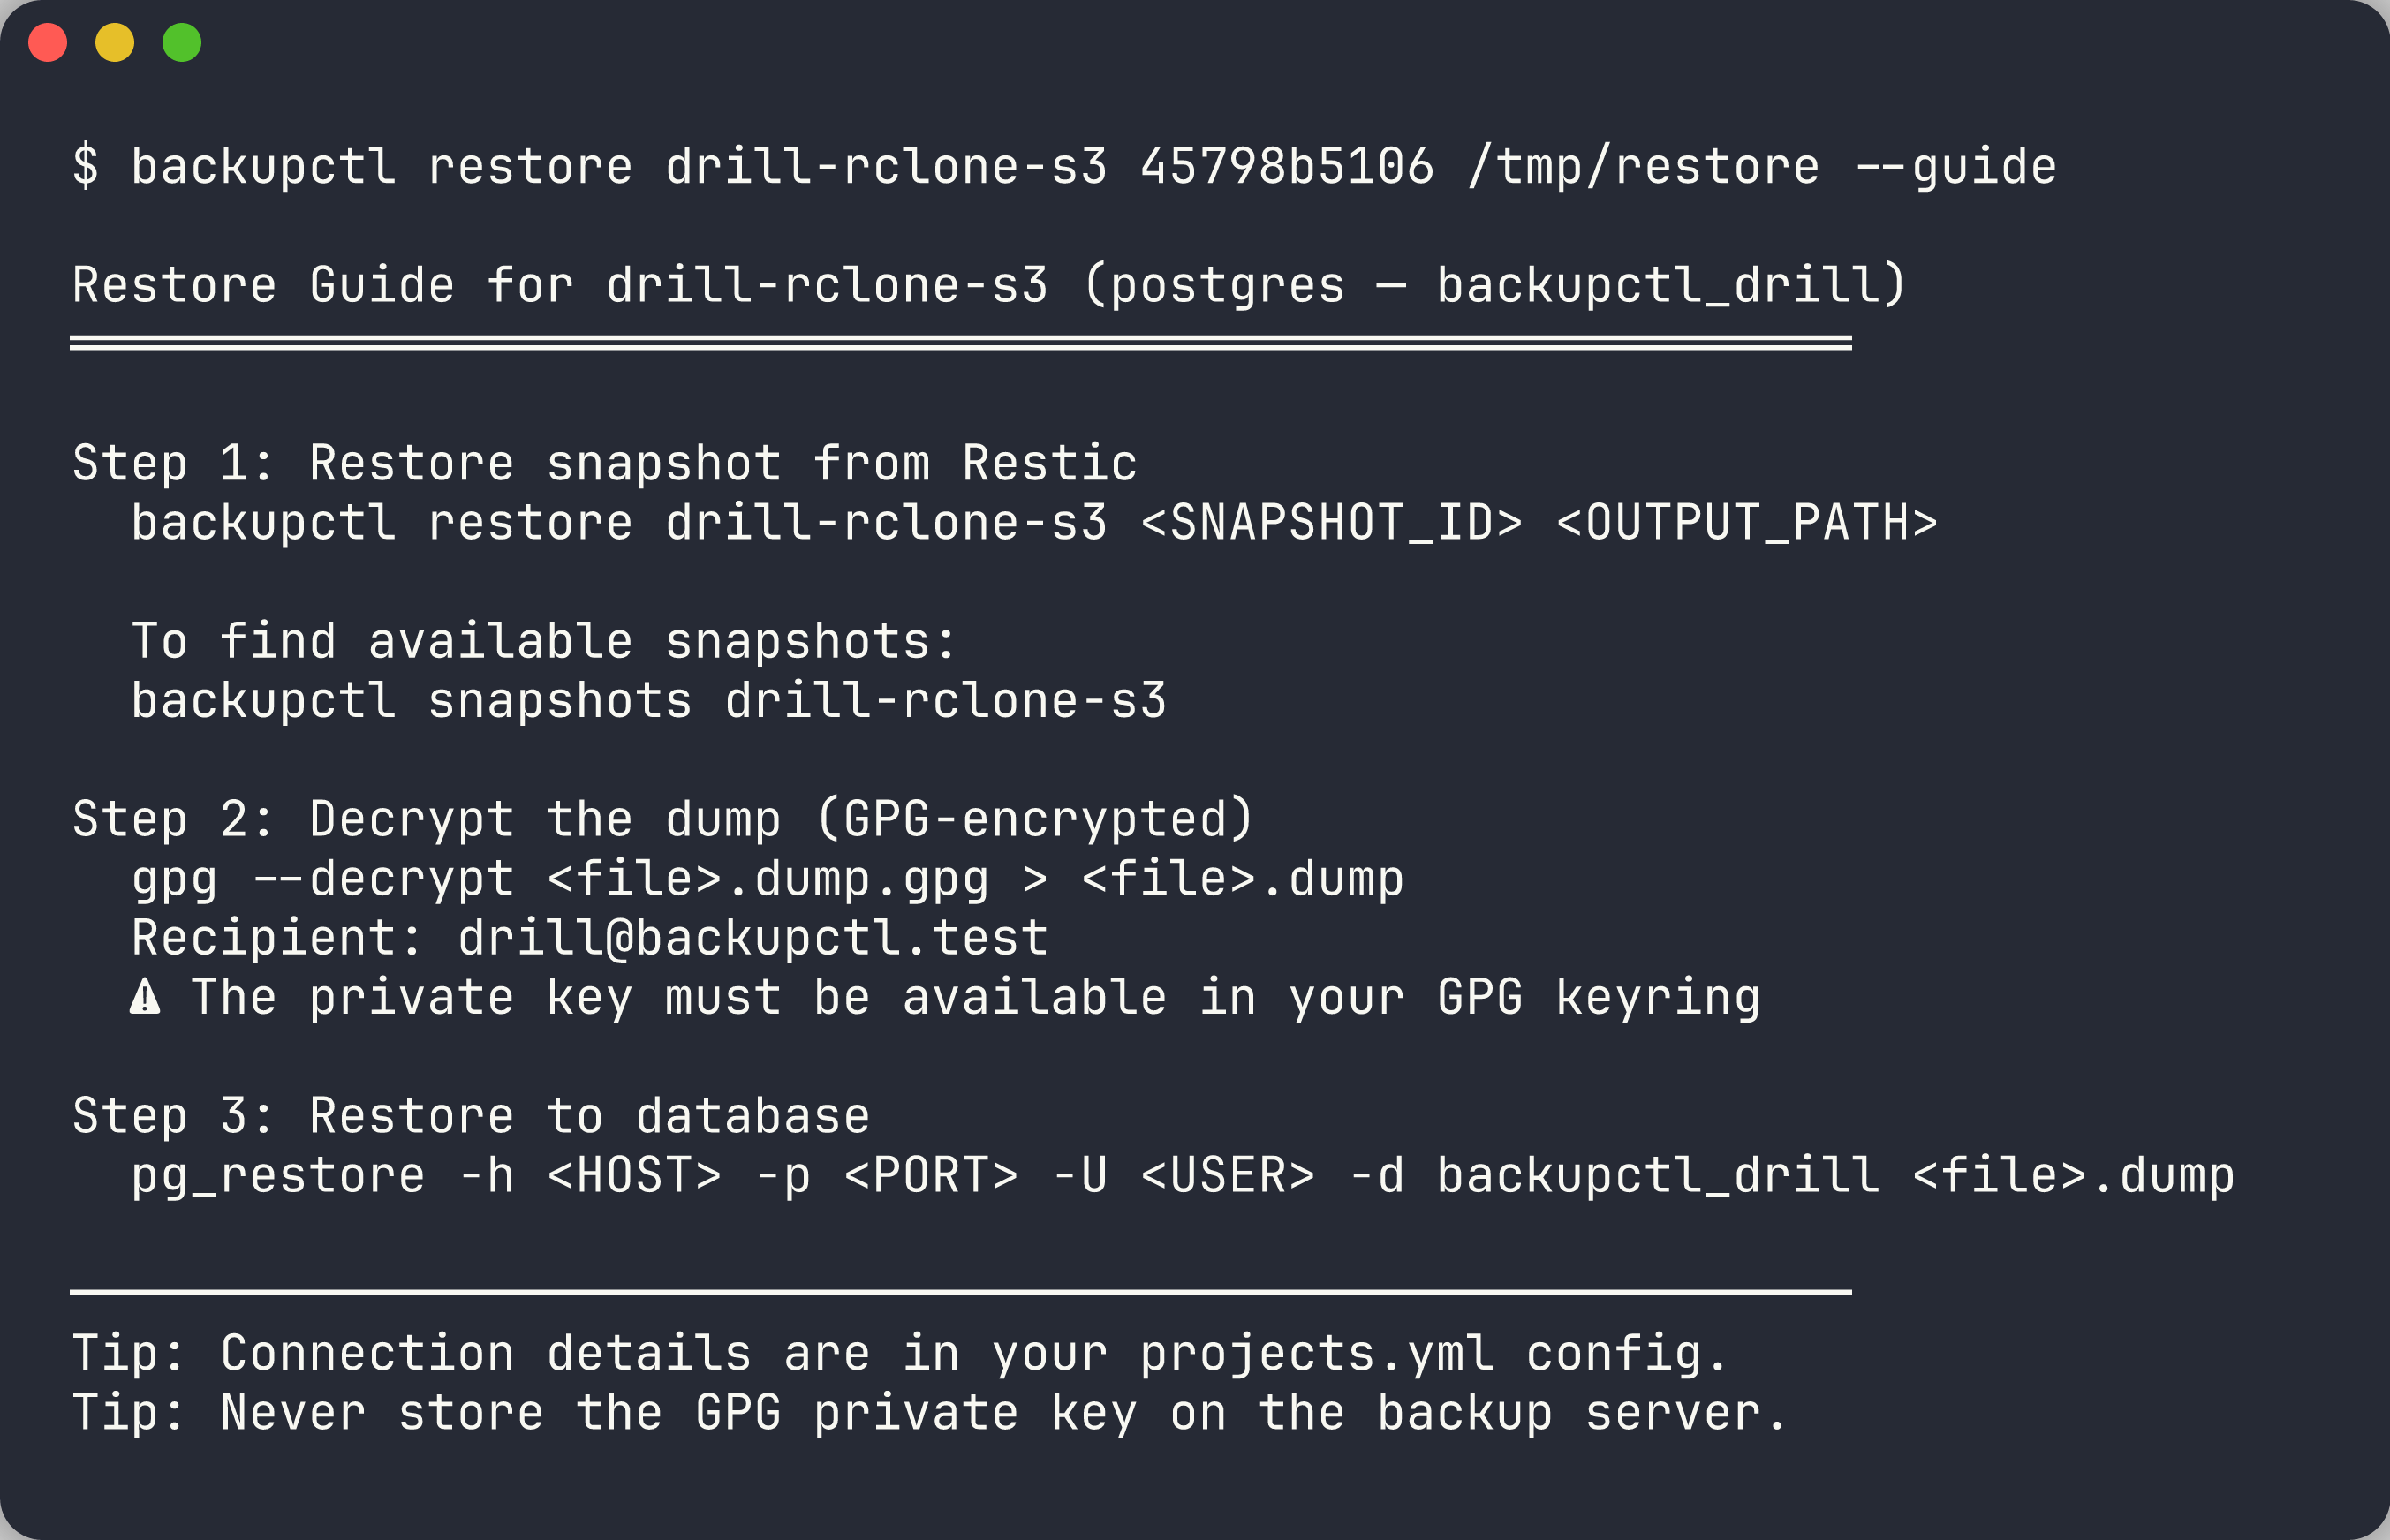
backupctl restores the artifact; it deliberately does not import into your database. See Restore Guide for the rationale and per-engine import commands.
Step 6: Decrypt and Verify the Artifact
backupctl restore myproject <SNAPSHOT_ID> /tmp/restore
gpg --decrypt <file>.dump.gpg > restored.dump
head -c 5 restored.dump | od -c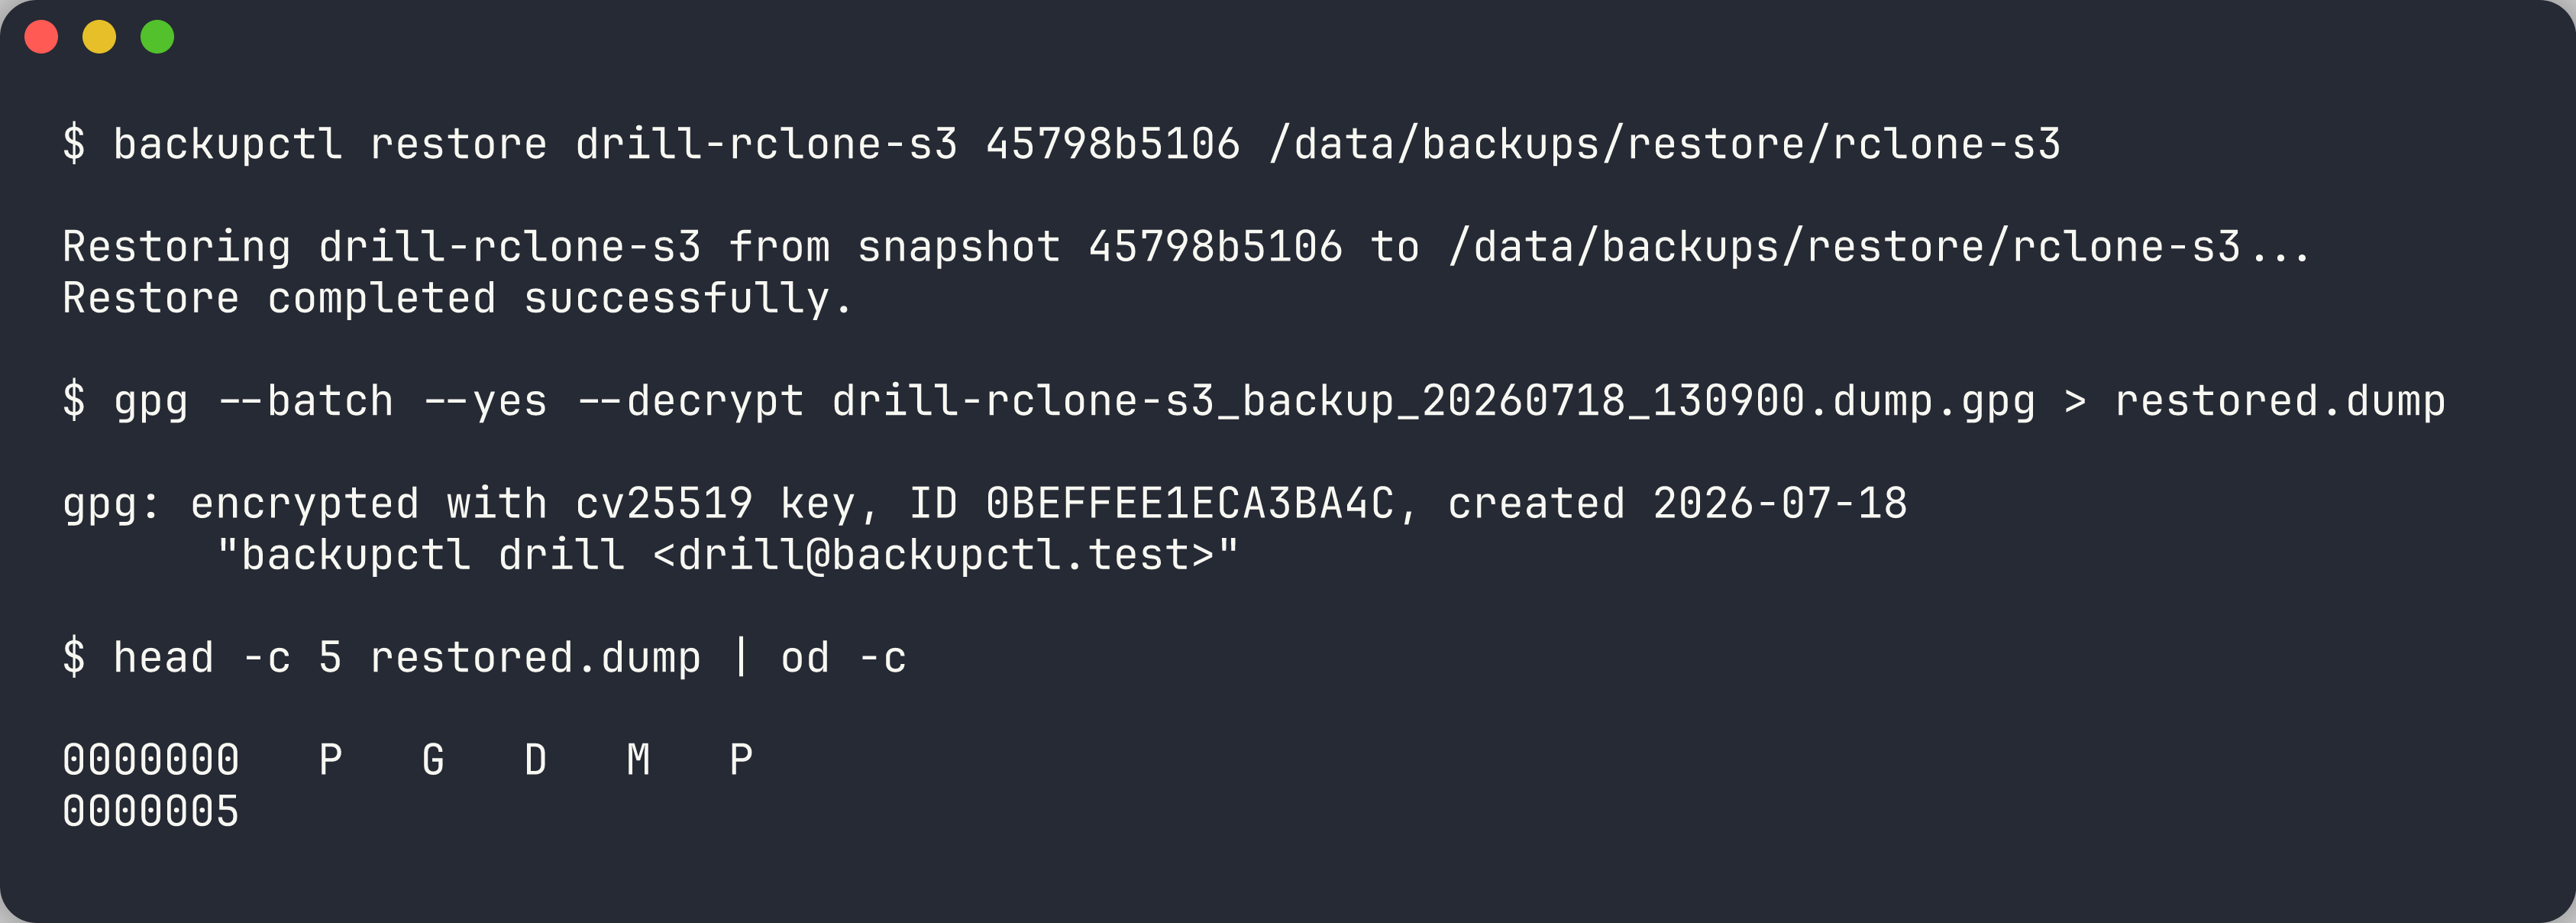
Two things get proven here:
- The private key is available. Encryption only needs the public key, so every prior step passes even when the private key is lost. If
gpg --decryptfails withno secret key, your backups are unrecoverable — fix this before anything else. - The plaintext is structurally intact. A PostgreSQL custom-format dump starts with the magic bytes
PGDMP. MySQL and MongoDB dumps have their own signatures.
Never store the GPG private key on the backup server
A server holding both the ciphertext and the key that opens it provides no protection against a compromise of that server. Keep the private key on operator workstations or in a secrets manager, and confirm at least two people can decrypt.
Step 7: Prove Fidelity
This is the step that separates a drill from a demonstration. Restore into a scratch database and compare fingerprints against the source.
createdb myproject_restored
pg_restore -h <HOST> -U <USER> -d myproject_restored restored.dump
Fingerprint both databases with the same query. Row counts alone are not enough — they cannot detect truncated text, mangled encodings, or dropped precision:
SELECT md5(string_agg(rf, '' ORDER BY rf))
FROM (SELECT md5(t.*::text) AS rf FROM your_table t) s;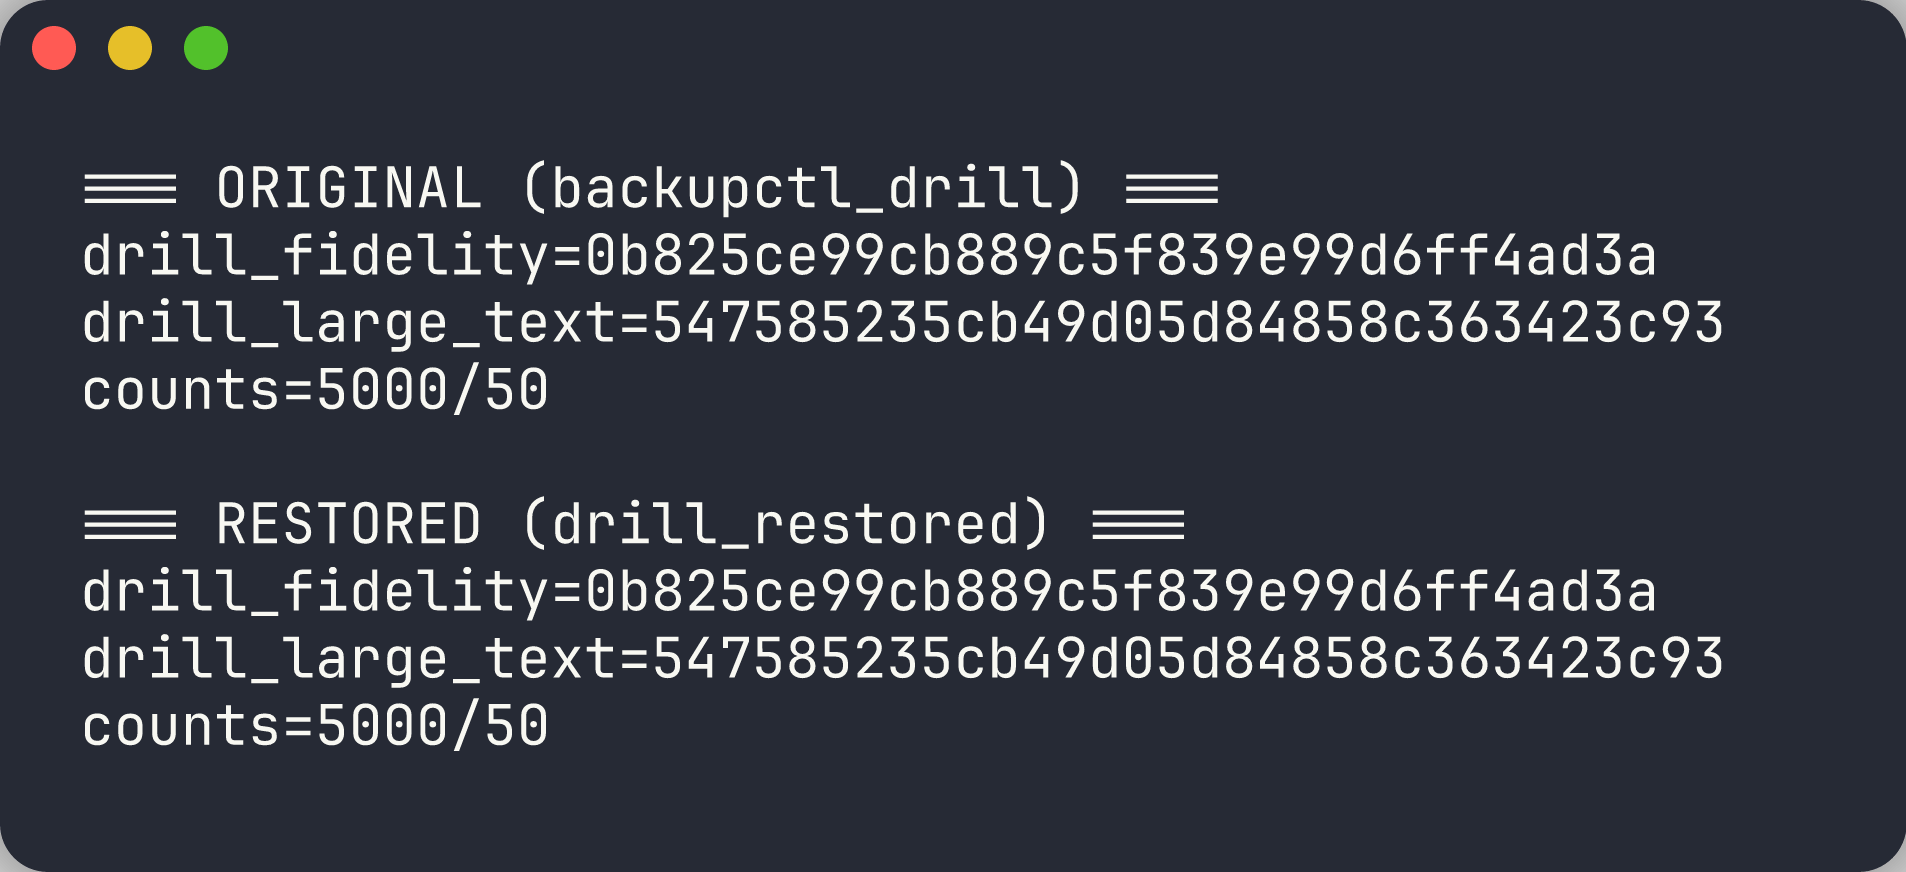
The fingerprints must match exactly. Also confirm schema objects survived, since data can restore while indexes and views do not:
SELECT indexname FROM pg_indexes WHERE tablename = 'your_table' ORDER BY 1;
SELECT viewname  FROM pg_views   WHERE schemaname = 'public';
Make the fixture adversarial
If your source data is thin, a broken backup can still round-trip cleanly. Seed a scratch table with unicode and emoji, embedded quotes, newlines and tabs, bytea, high-precision numeric, timestamptz, NULLs, jsonb, and multi-kilobyte text before drilling. Encoding and precision bugs only surface against data that stresses them.
Drop the scratch database when finished.
Step 8: Confirm the Concurrency Lock
Two backups of one project must never run concurrently. With a backup in progress, a second run is rejected:
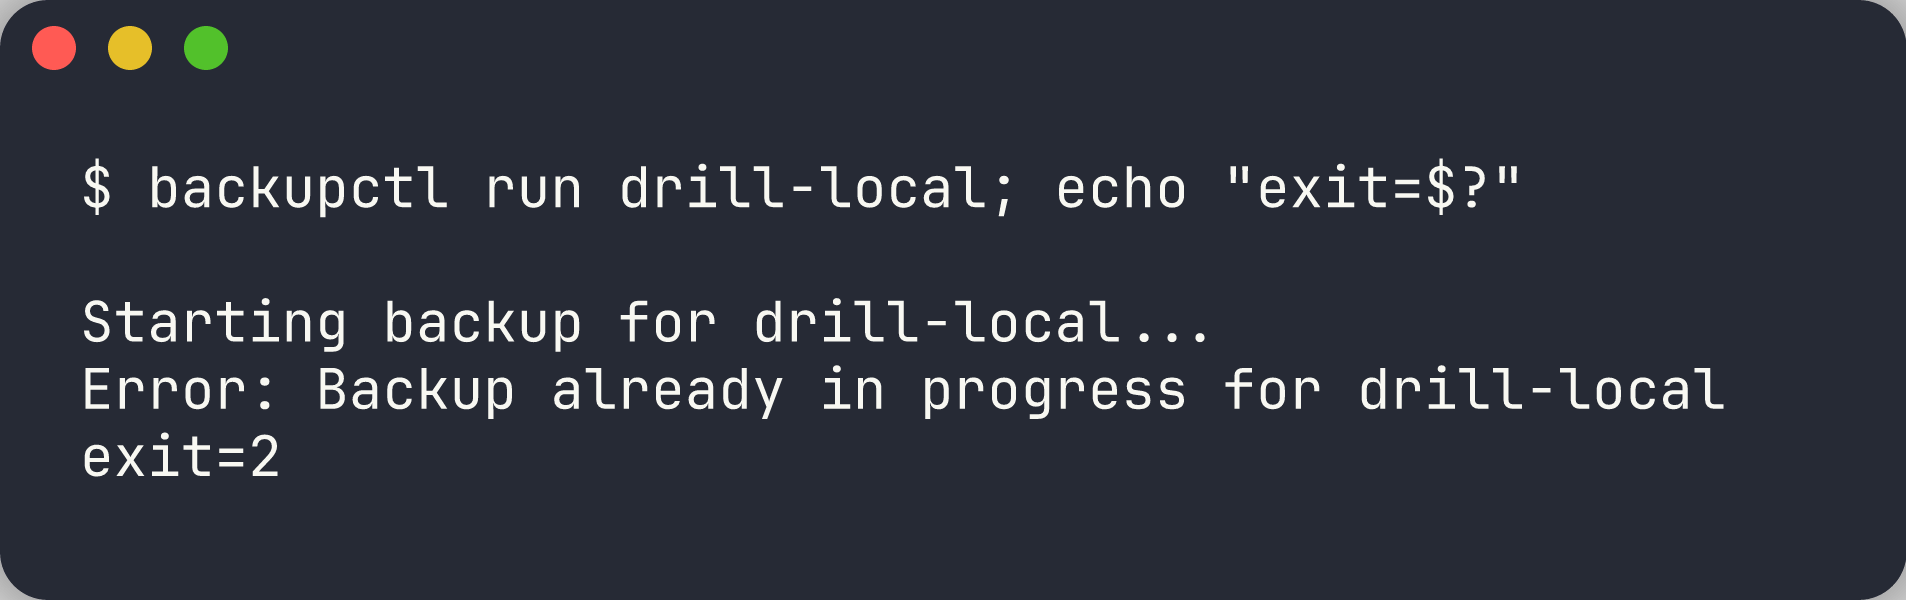
Exit code 2 means "already in progress" and is not a failure — cron overlap queues behind the running backup rather than corrupting it. See Backup Flow for the full concurrency model and CLI Reference for all exit codes.
Operational Notes
The unencrypted dump stays on disk. Local cleanup removes files by age only, so with retention.local_days: 7 the plaintext .dump sits beside the .dump.gpg on the backup host for seven days. Only the encrypted artifact is uploaded — plaintext never reaches remote storage — but anyone with access to the backup host can read it during that window. Lower local_days if that exposure is unacceptable.
A degraded remote hangs rather than fails. restic retries transport errors, and timeout_minutes raises a warning without killing the run. A cloud backend returning persistent 500s will stall instead of erroring out. If a backup runs far past its usual duration, check the remote's health before assuming backupctl is stuck.
Drill each backend separately. Backends share the restic adapter but differ in their resolver, credentials, and failure modes. A passing drill on one backend says nothing about another.
Related
- Configuration — storage schema and per-backend keys
- Restore Guide — per-engine import commands
- Backup Flow — the 13-step flow, retry, and concurrency
- Troubleshooting — diagnosing failures
- CLI Reference — full command and exit-code reference